- No.609, Centre Of Huijin Nanxiang, Yinxiang Road, Nanxiang Town, Jiading District, Shanghai, China
- sherry@sanmachines.com
- +86-18616767021
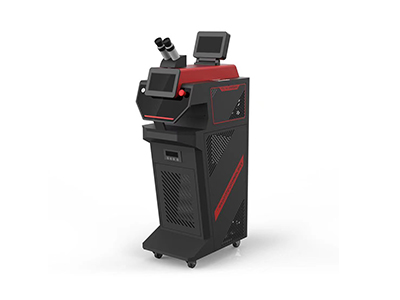
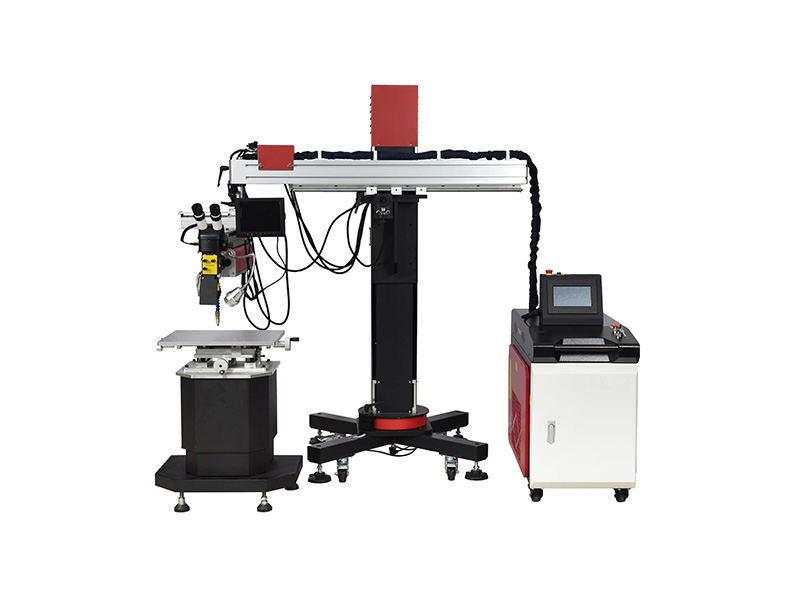
How to adjust the microscope parameters of the mold laser welding machine?
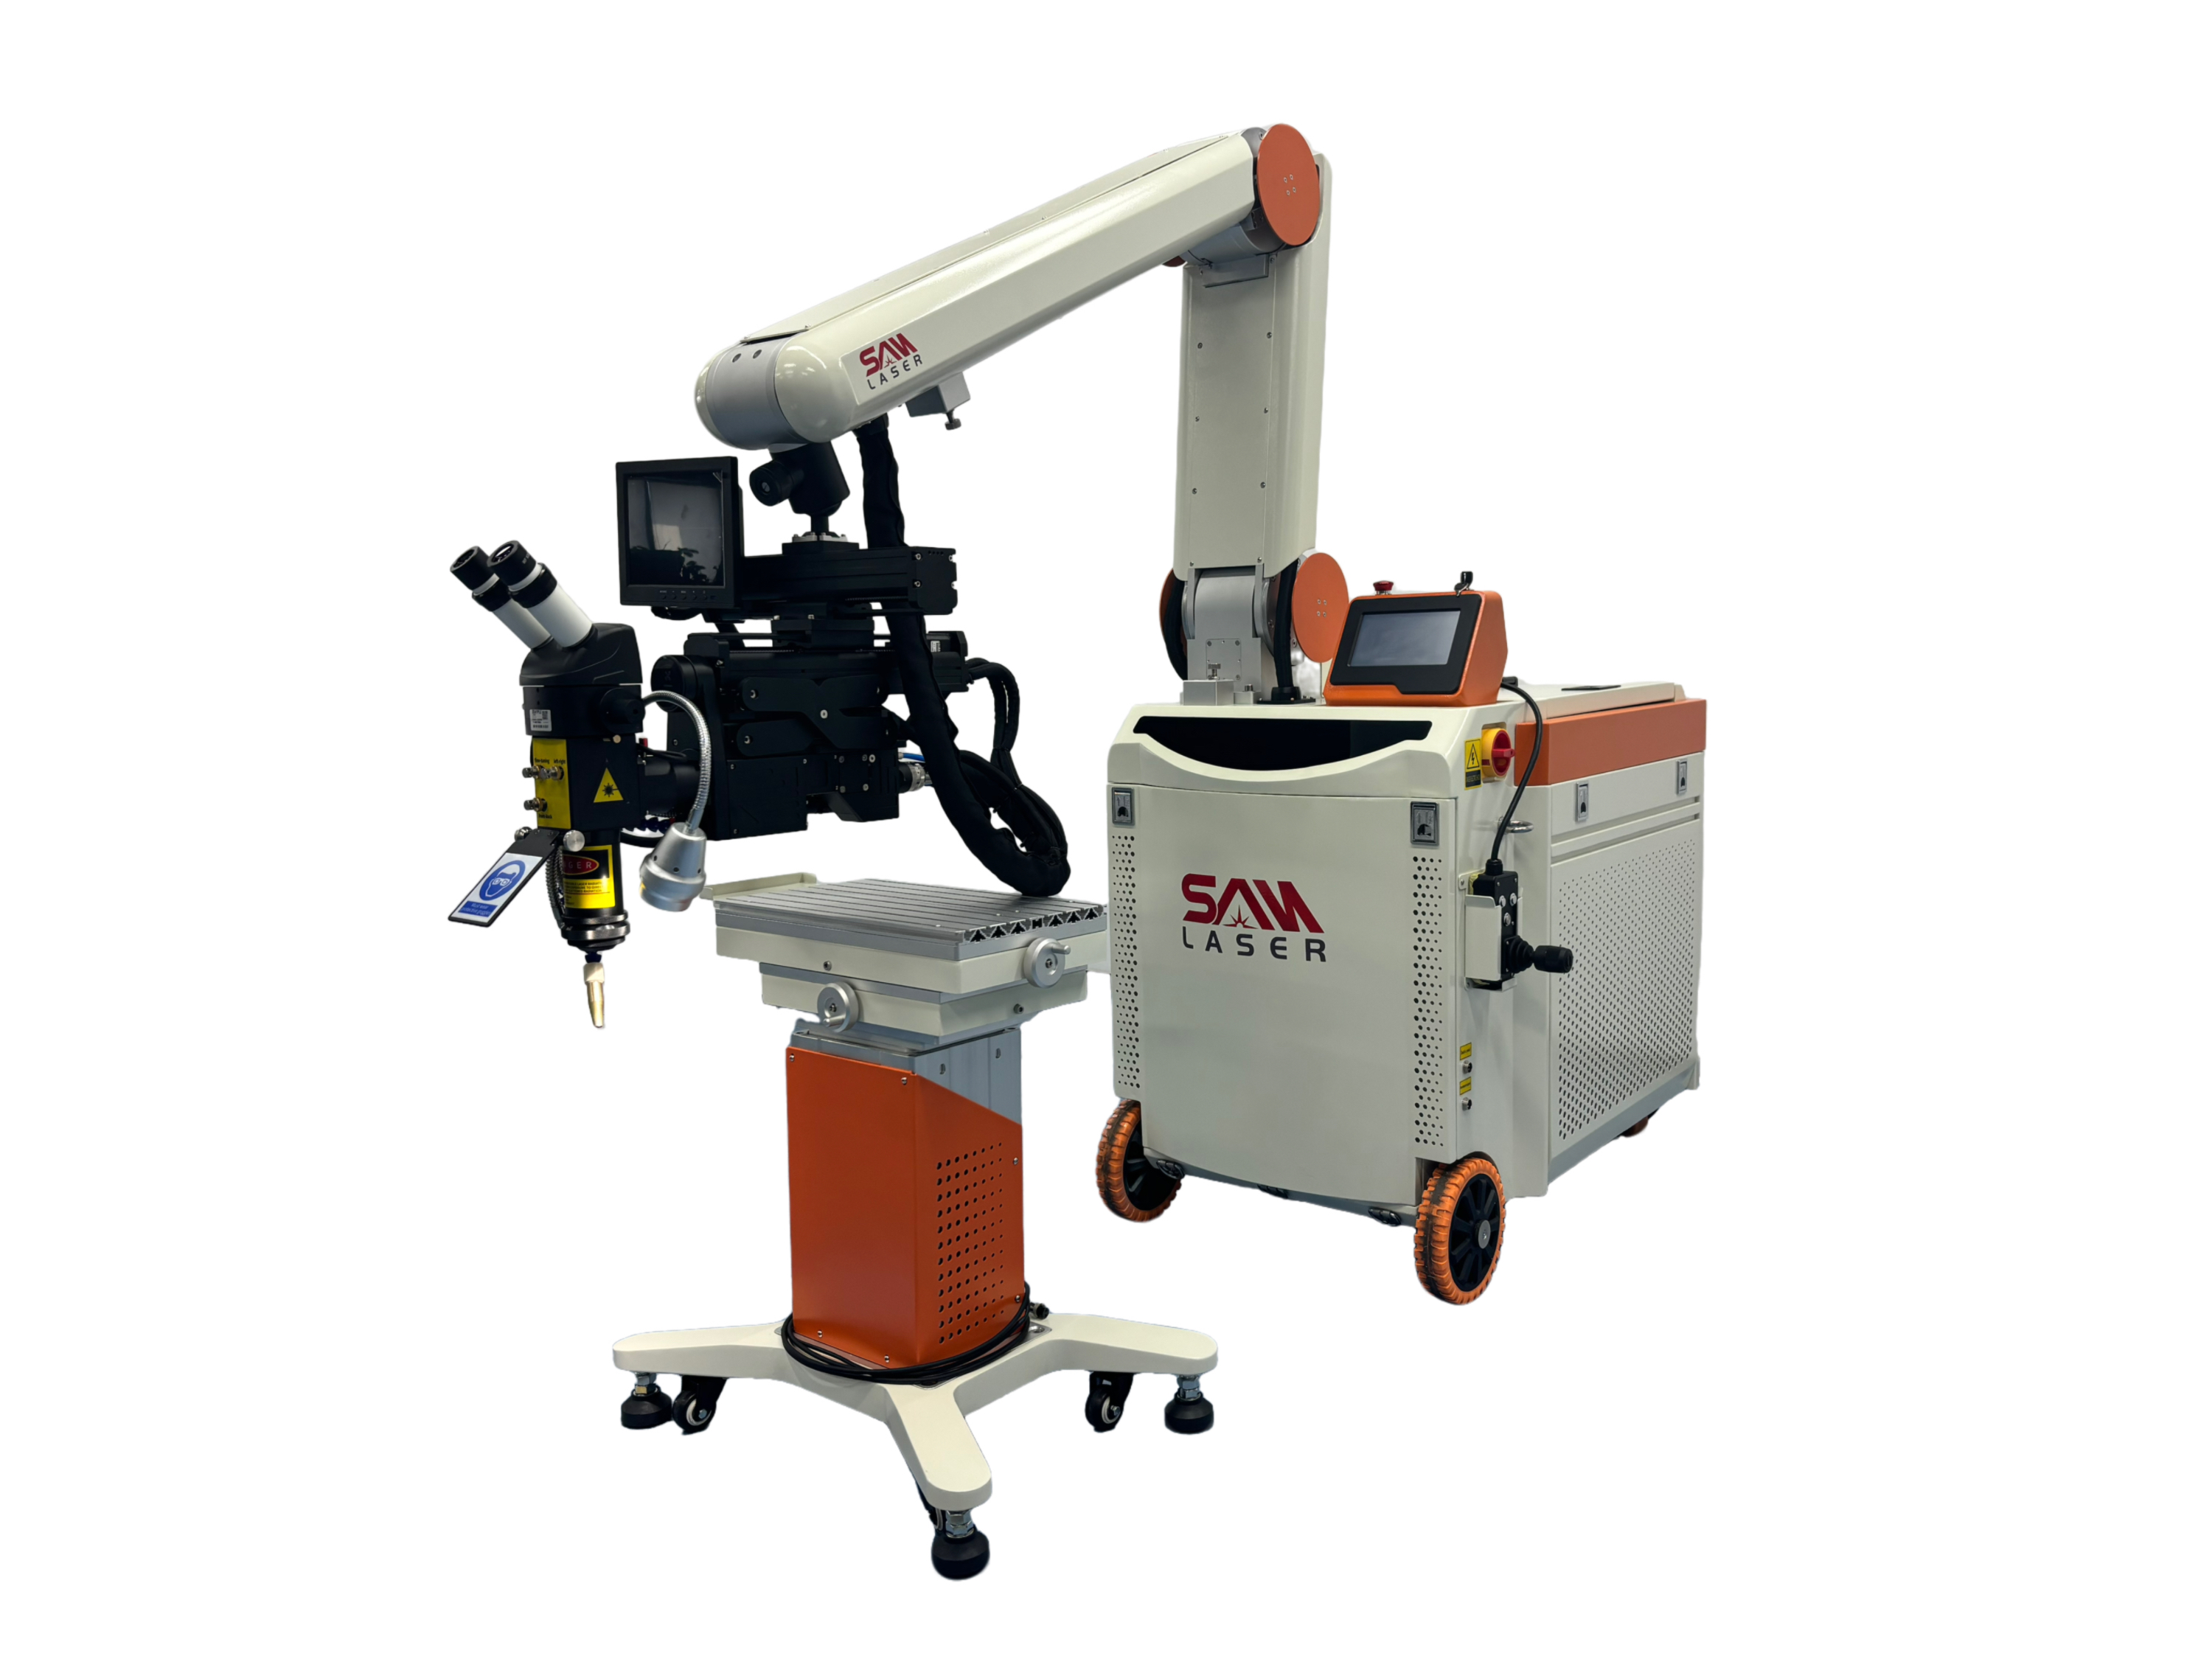
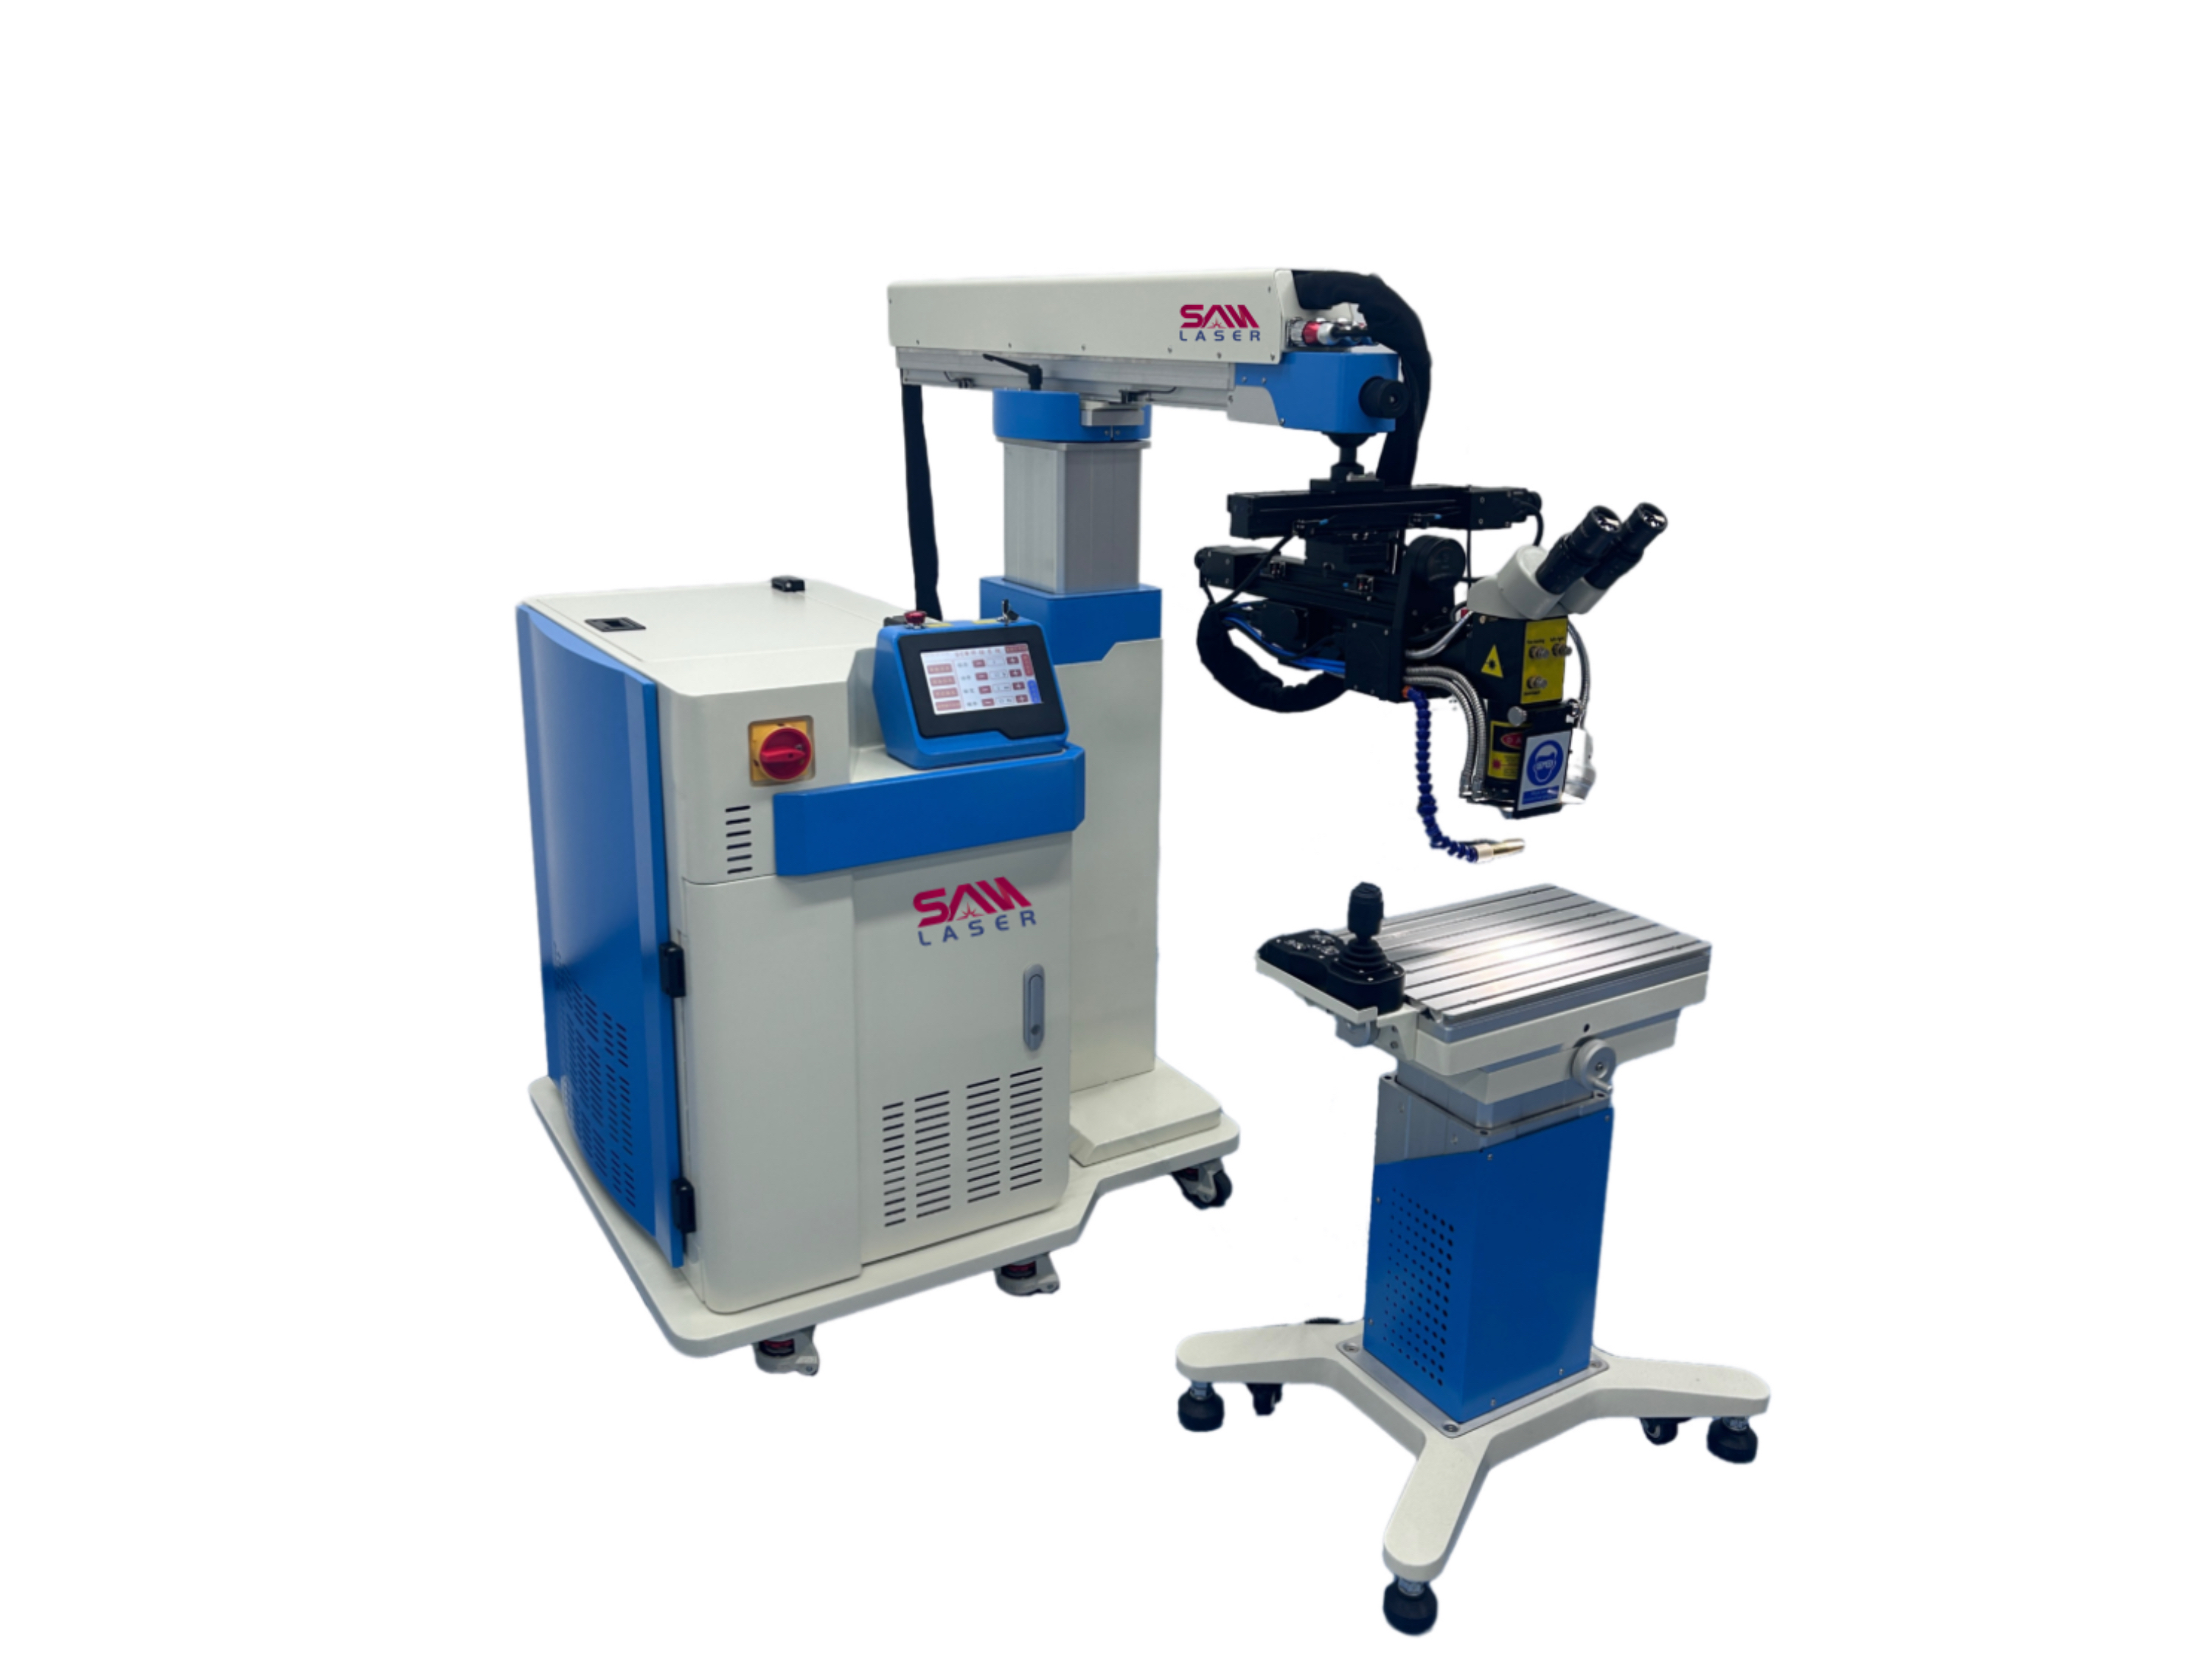
The development of the mold industry promotes the progress of the entire manufacturing industry. The mold will be damaged and worn during use. The emergence of the laser mold welding machine solves this problem. It delays the life of the mold for many years, which is a considerable expense for the company. Therefore, the mold laser welding machine has been recognized and favored by the industry. Today, SAN LASER will introduce to you how to adjust the mold
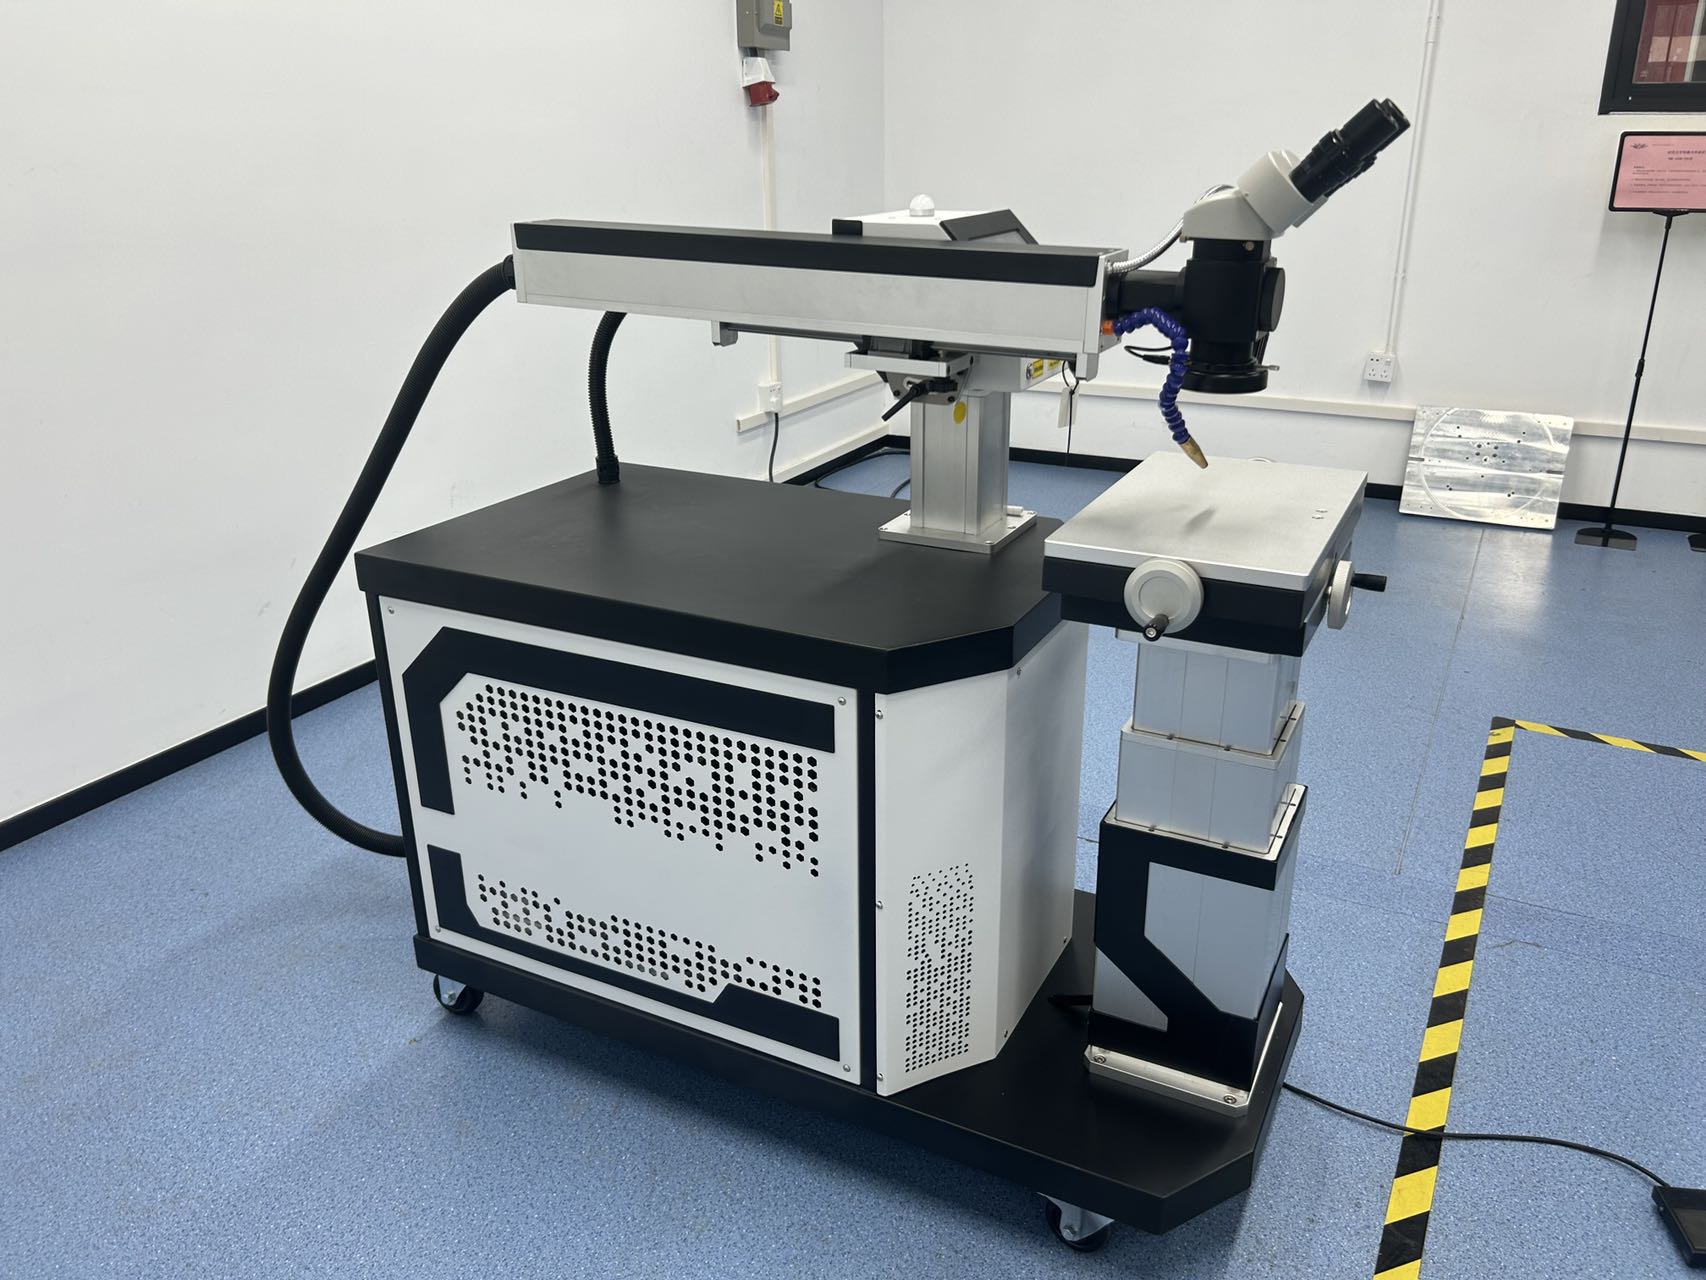
1. Before the laser repair welding operation, turn the clear adjustment knob on the outside of the eyepiece barrel of the microscope clockwise to the bottom, so that the two eyepiece barrels are at the same height. The purpose is to keep the clarity seen by the two glasses consistent when observing the workplace.
2.During operation, place the workplace on the workbench, move the workbench up and down, and observe the workplace in the microscope to make the workplace in the best clear state in the field of view of the microscope. When laser repair welding any workplace, the workplace must be in a clear state. One is to ensure that the focal length is met by clarity, and the other is that the eyes can clearly see the laser repair welding process to ensure whether the repair welding quality is ok.
3. When laser welding, customers are strongly required to use two eyes to observe the workplace at the same time when using a microscope. The eyes should not be close to the eyepiece, nor far away from the eyepiece. It is best to keep about 5 to 10 mm. When the sight lines cannot overlap, the two eyepiece seats of the microscope can be adjusted to make the workplace we see three-dimensional. The high and low positions on the workplace can be seen, especially the small positions of precision parts can be seen clearly. And the workplace after welding can be inspected to observe whether the welding position is bitten or burned to ensure that the welding position and height meet the requirements.


 Welder News
